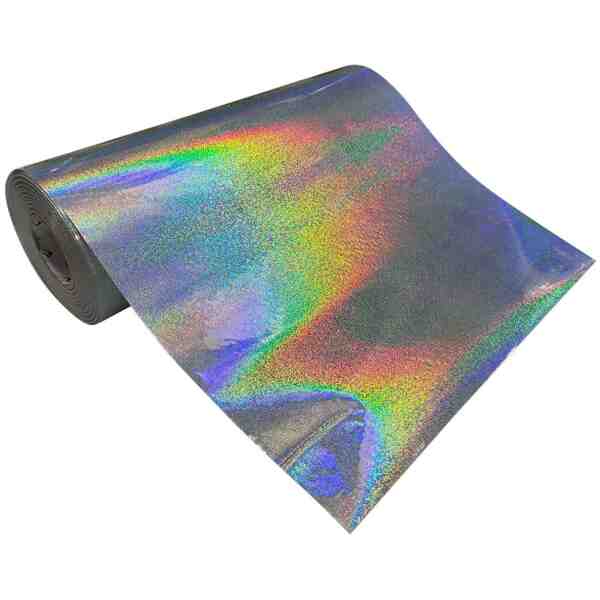


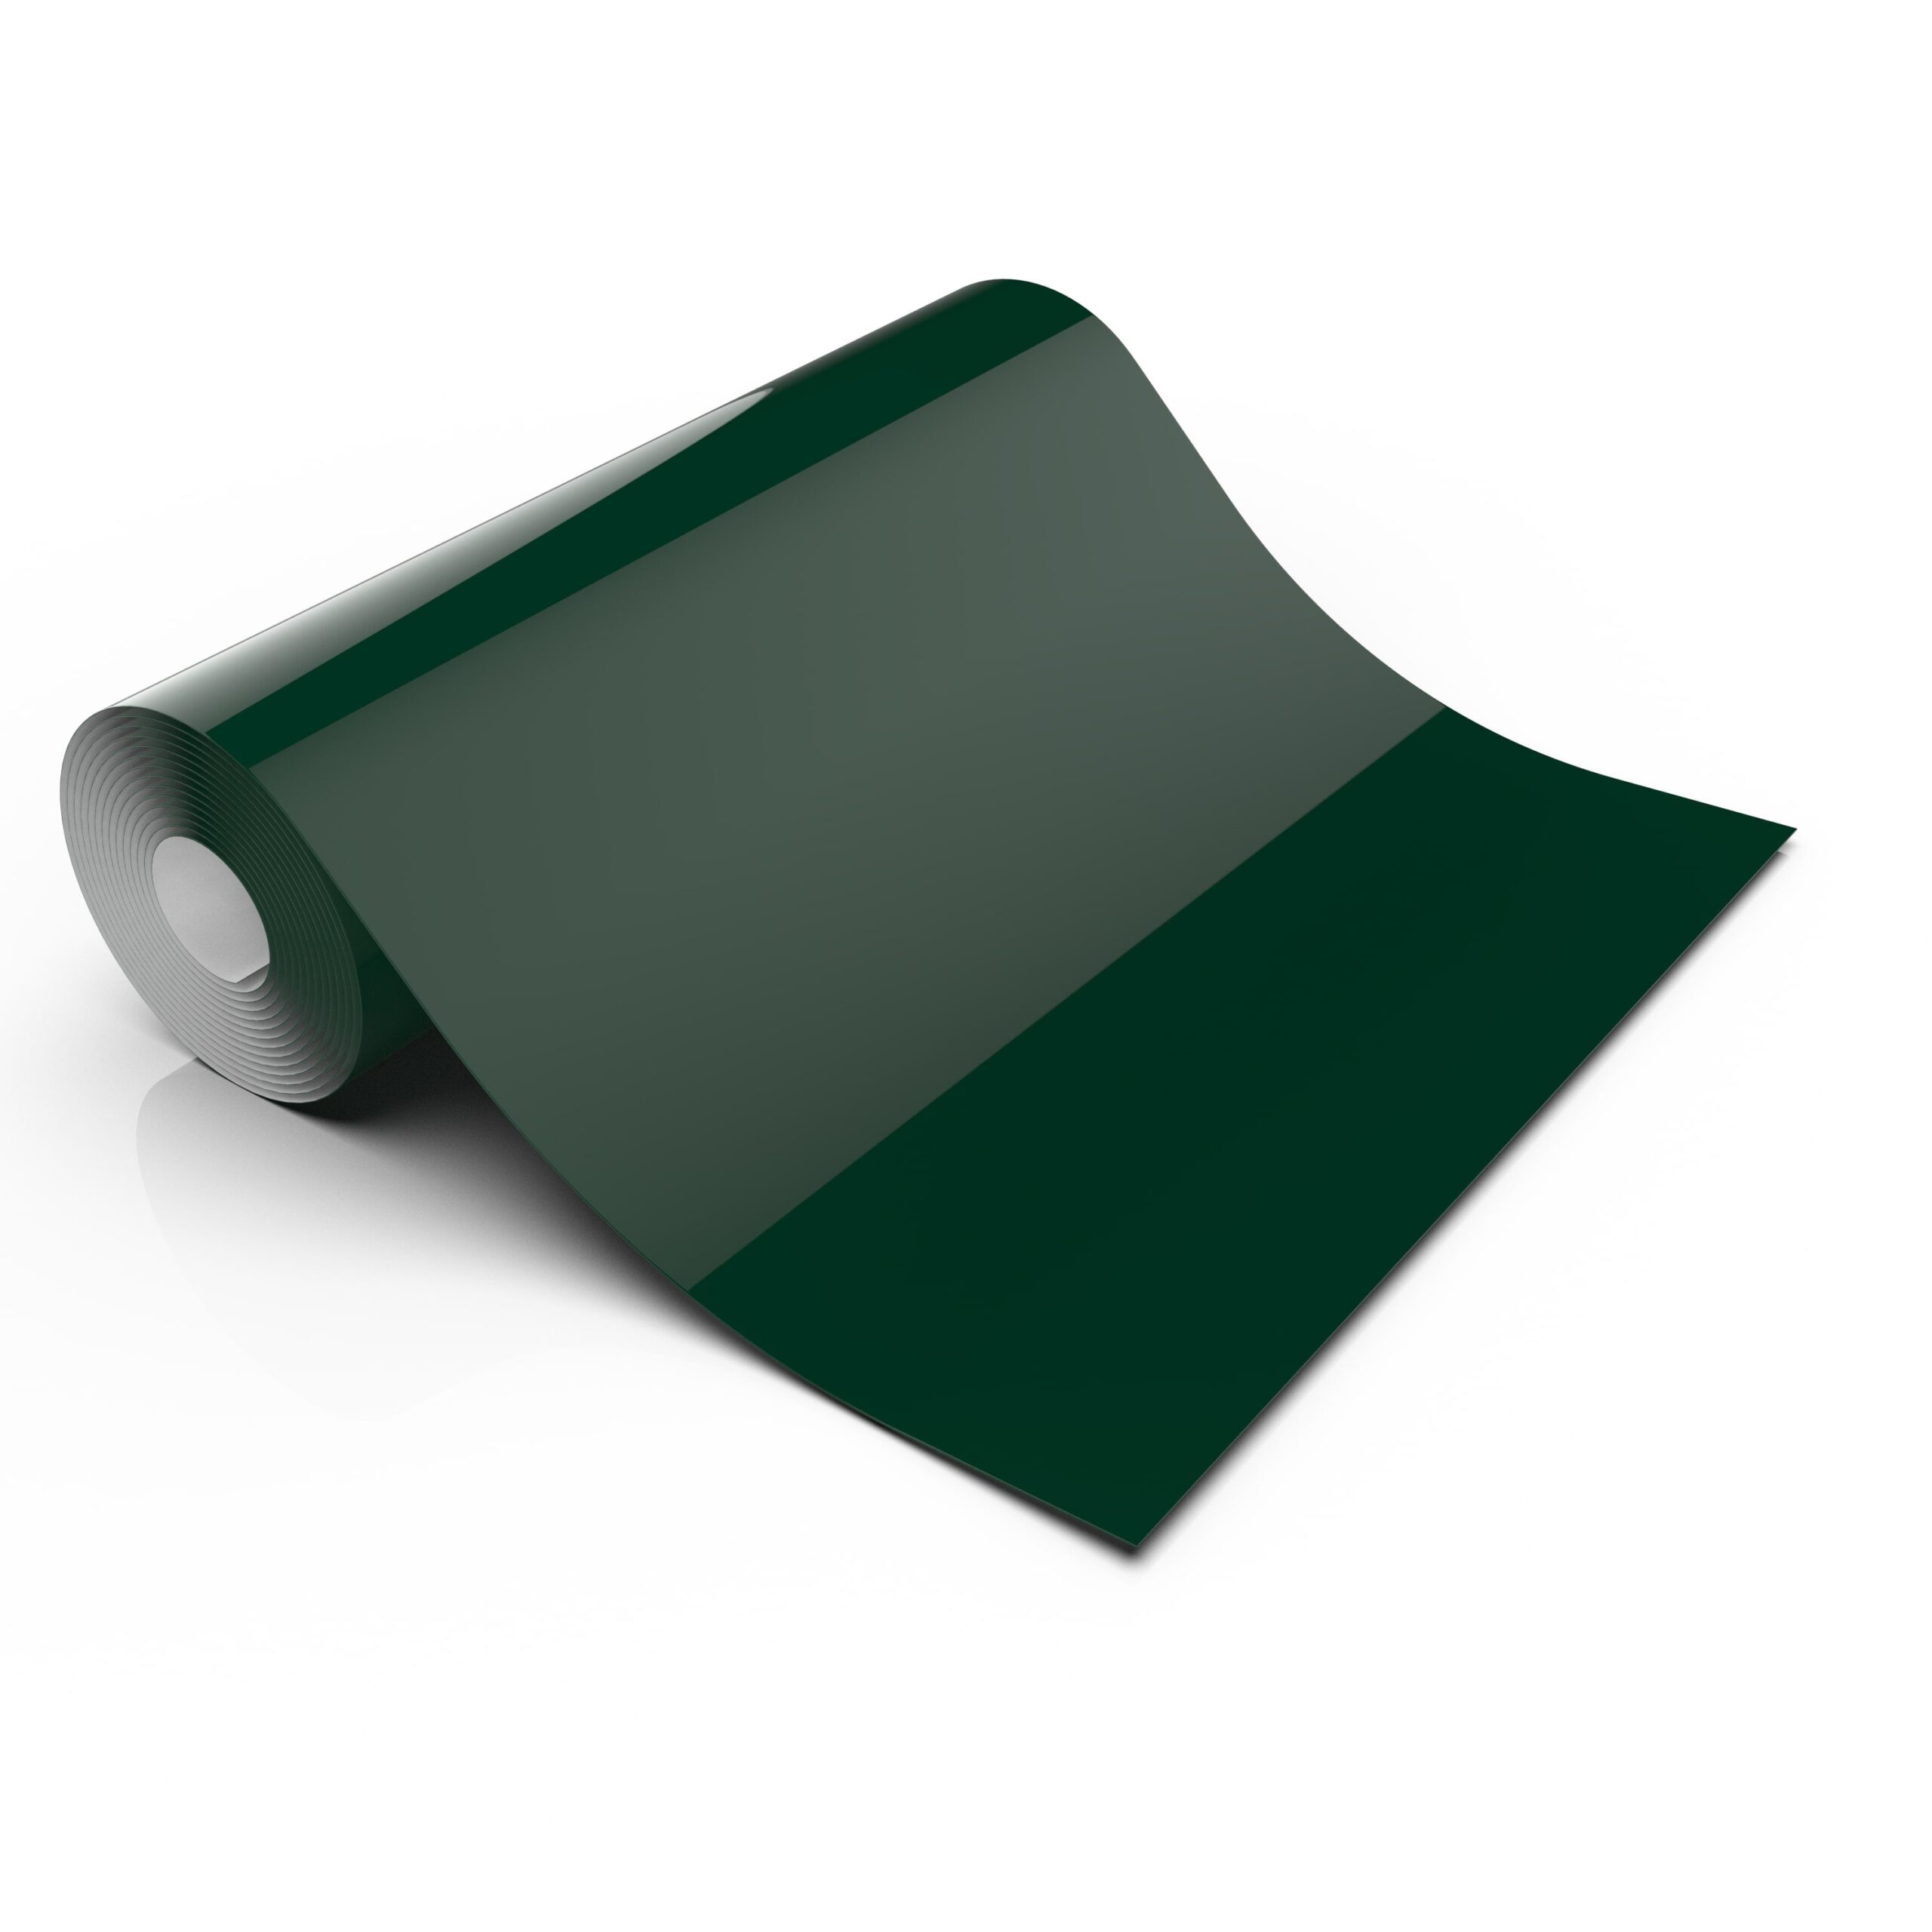

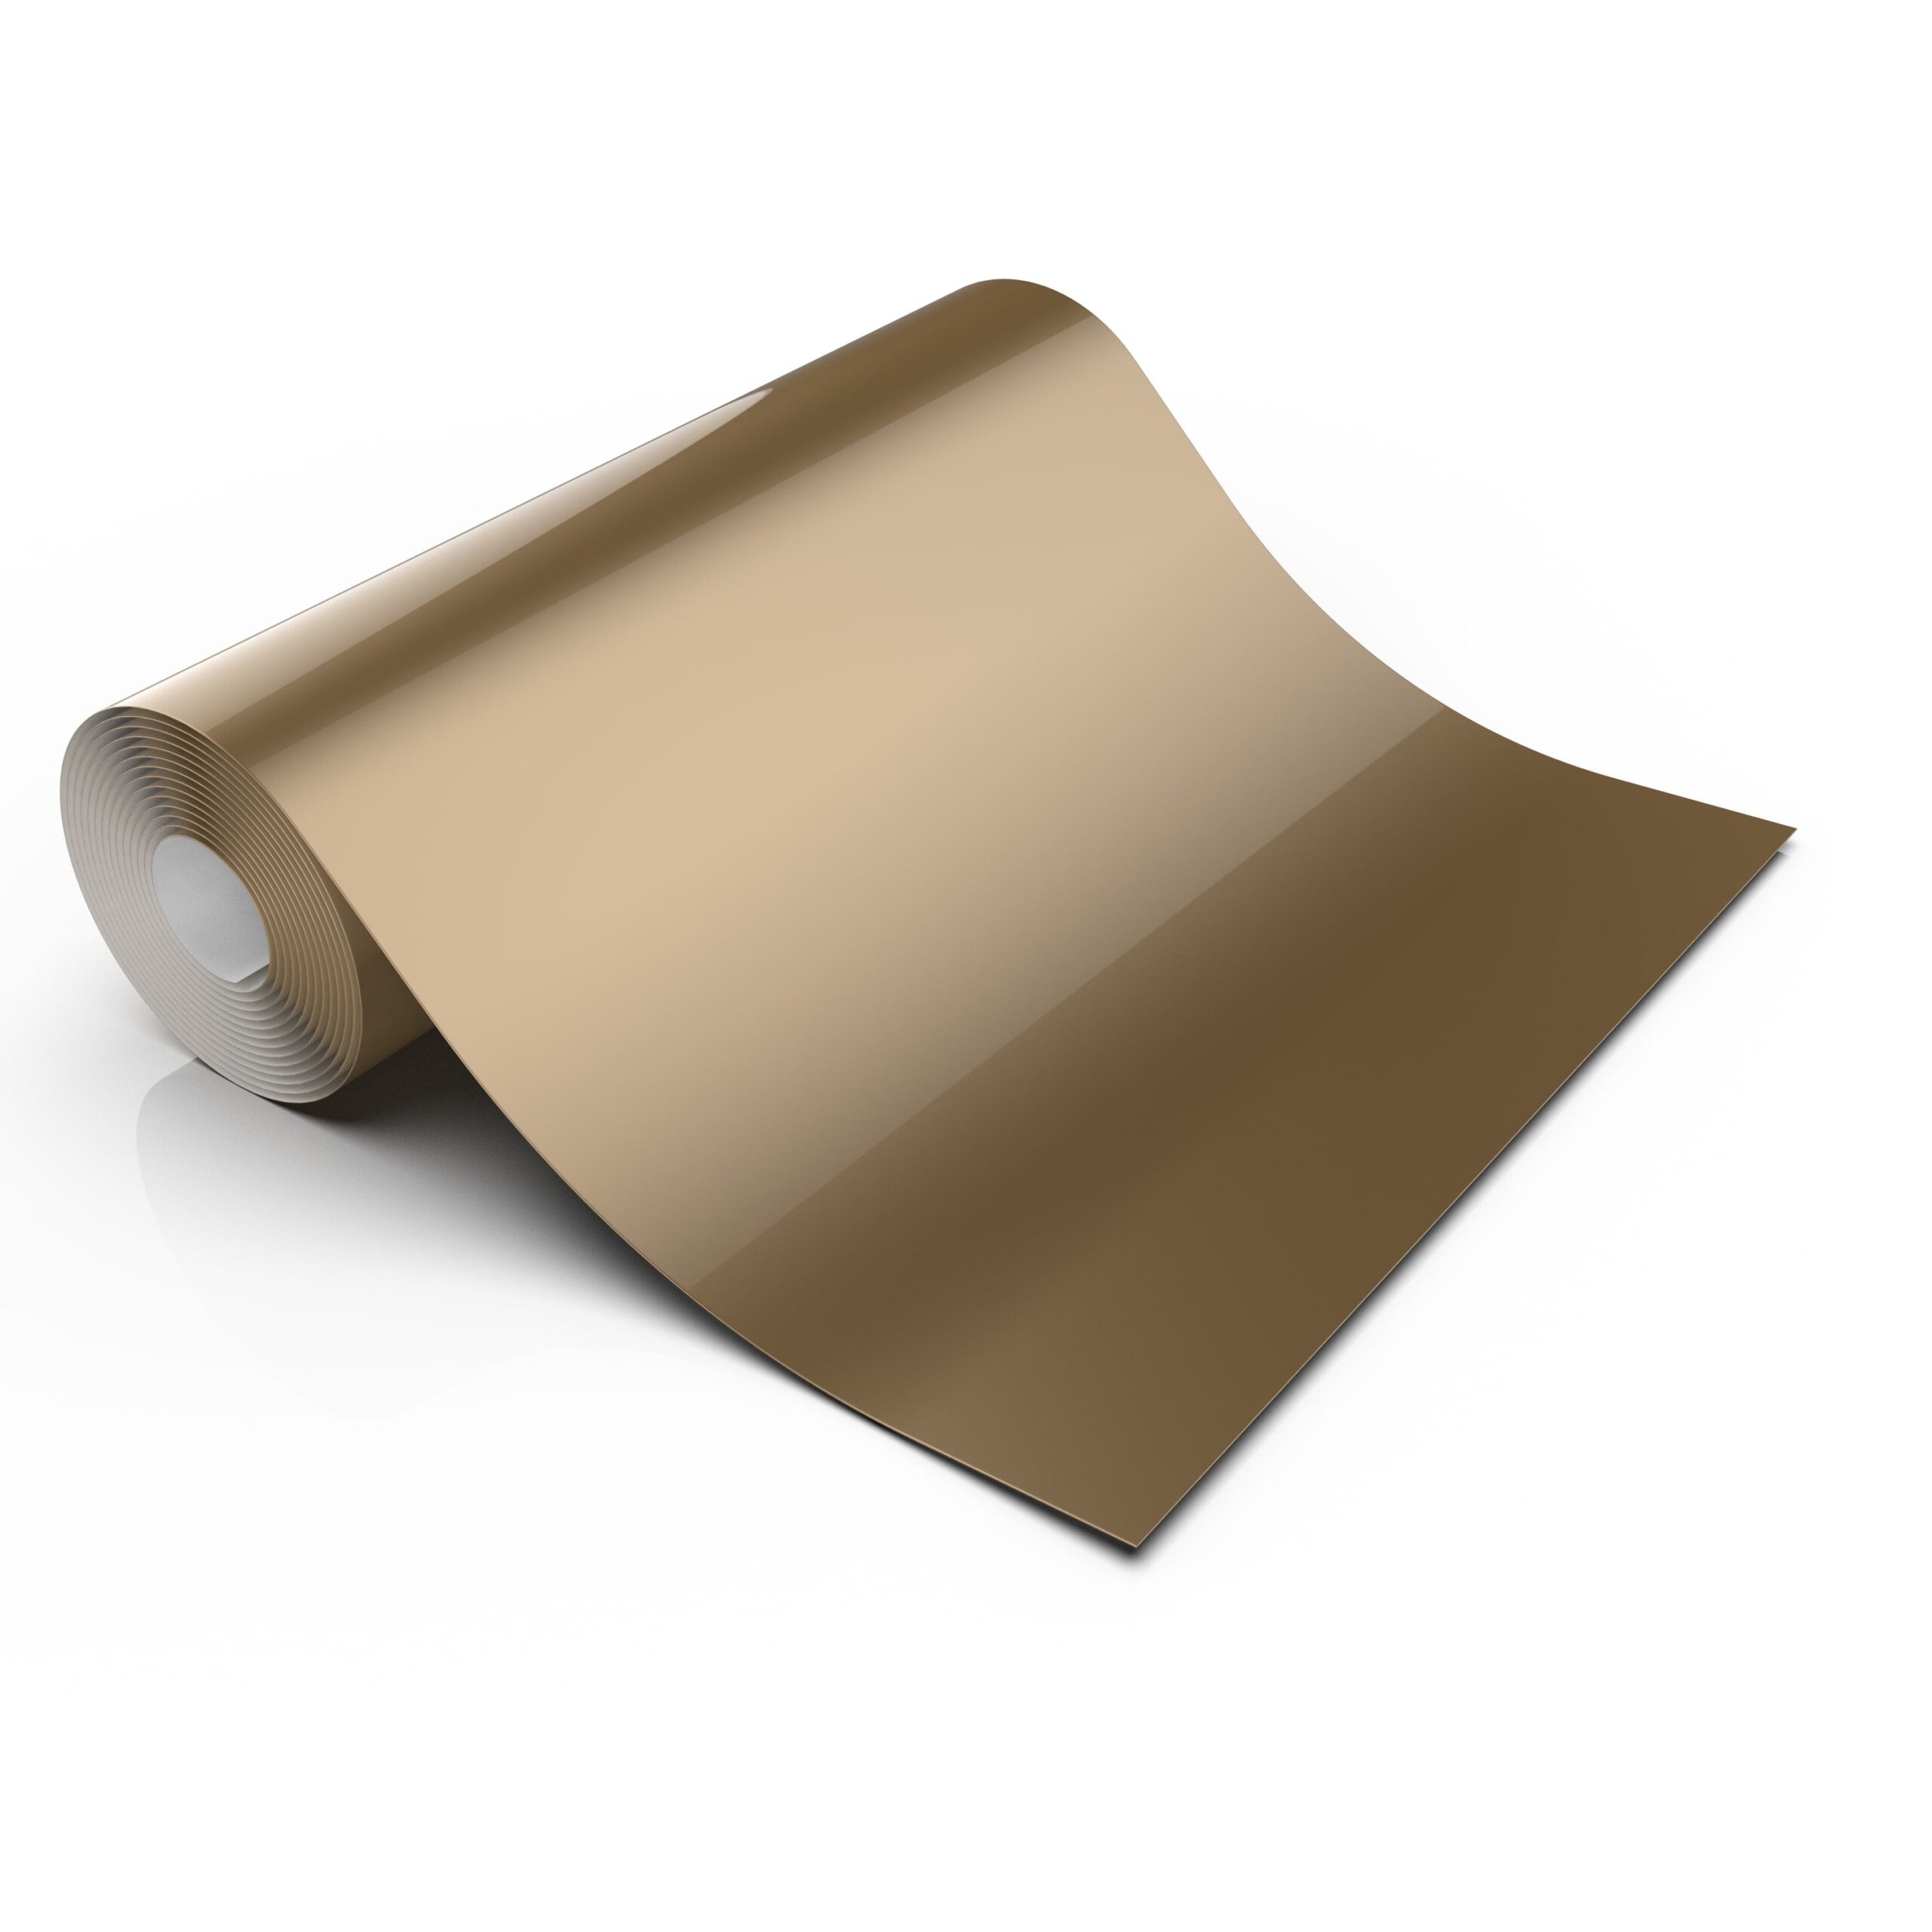
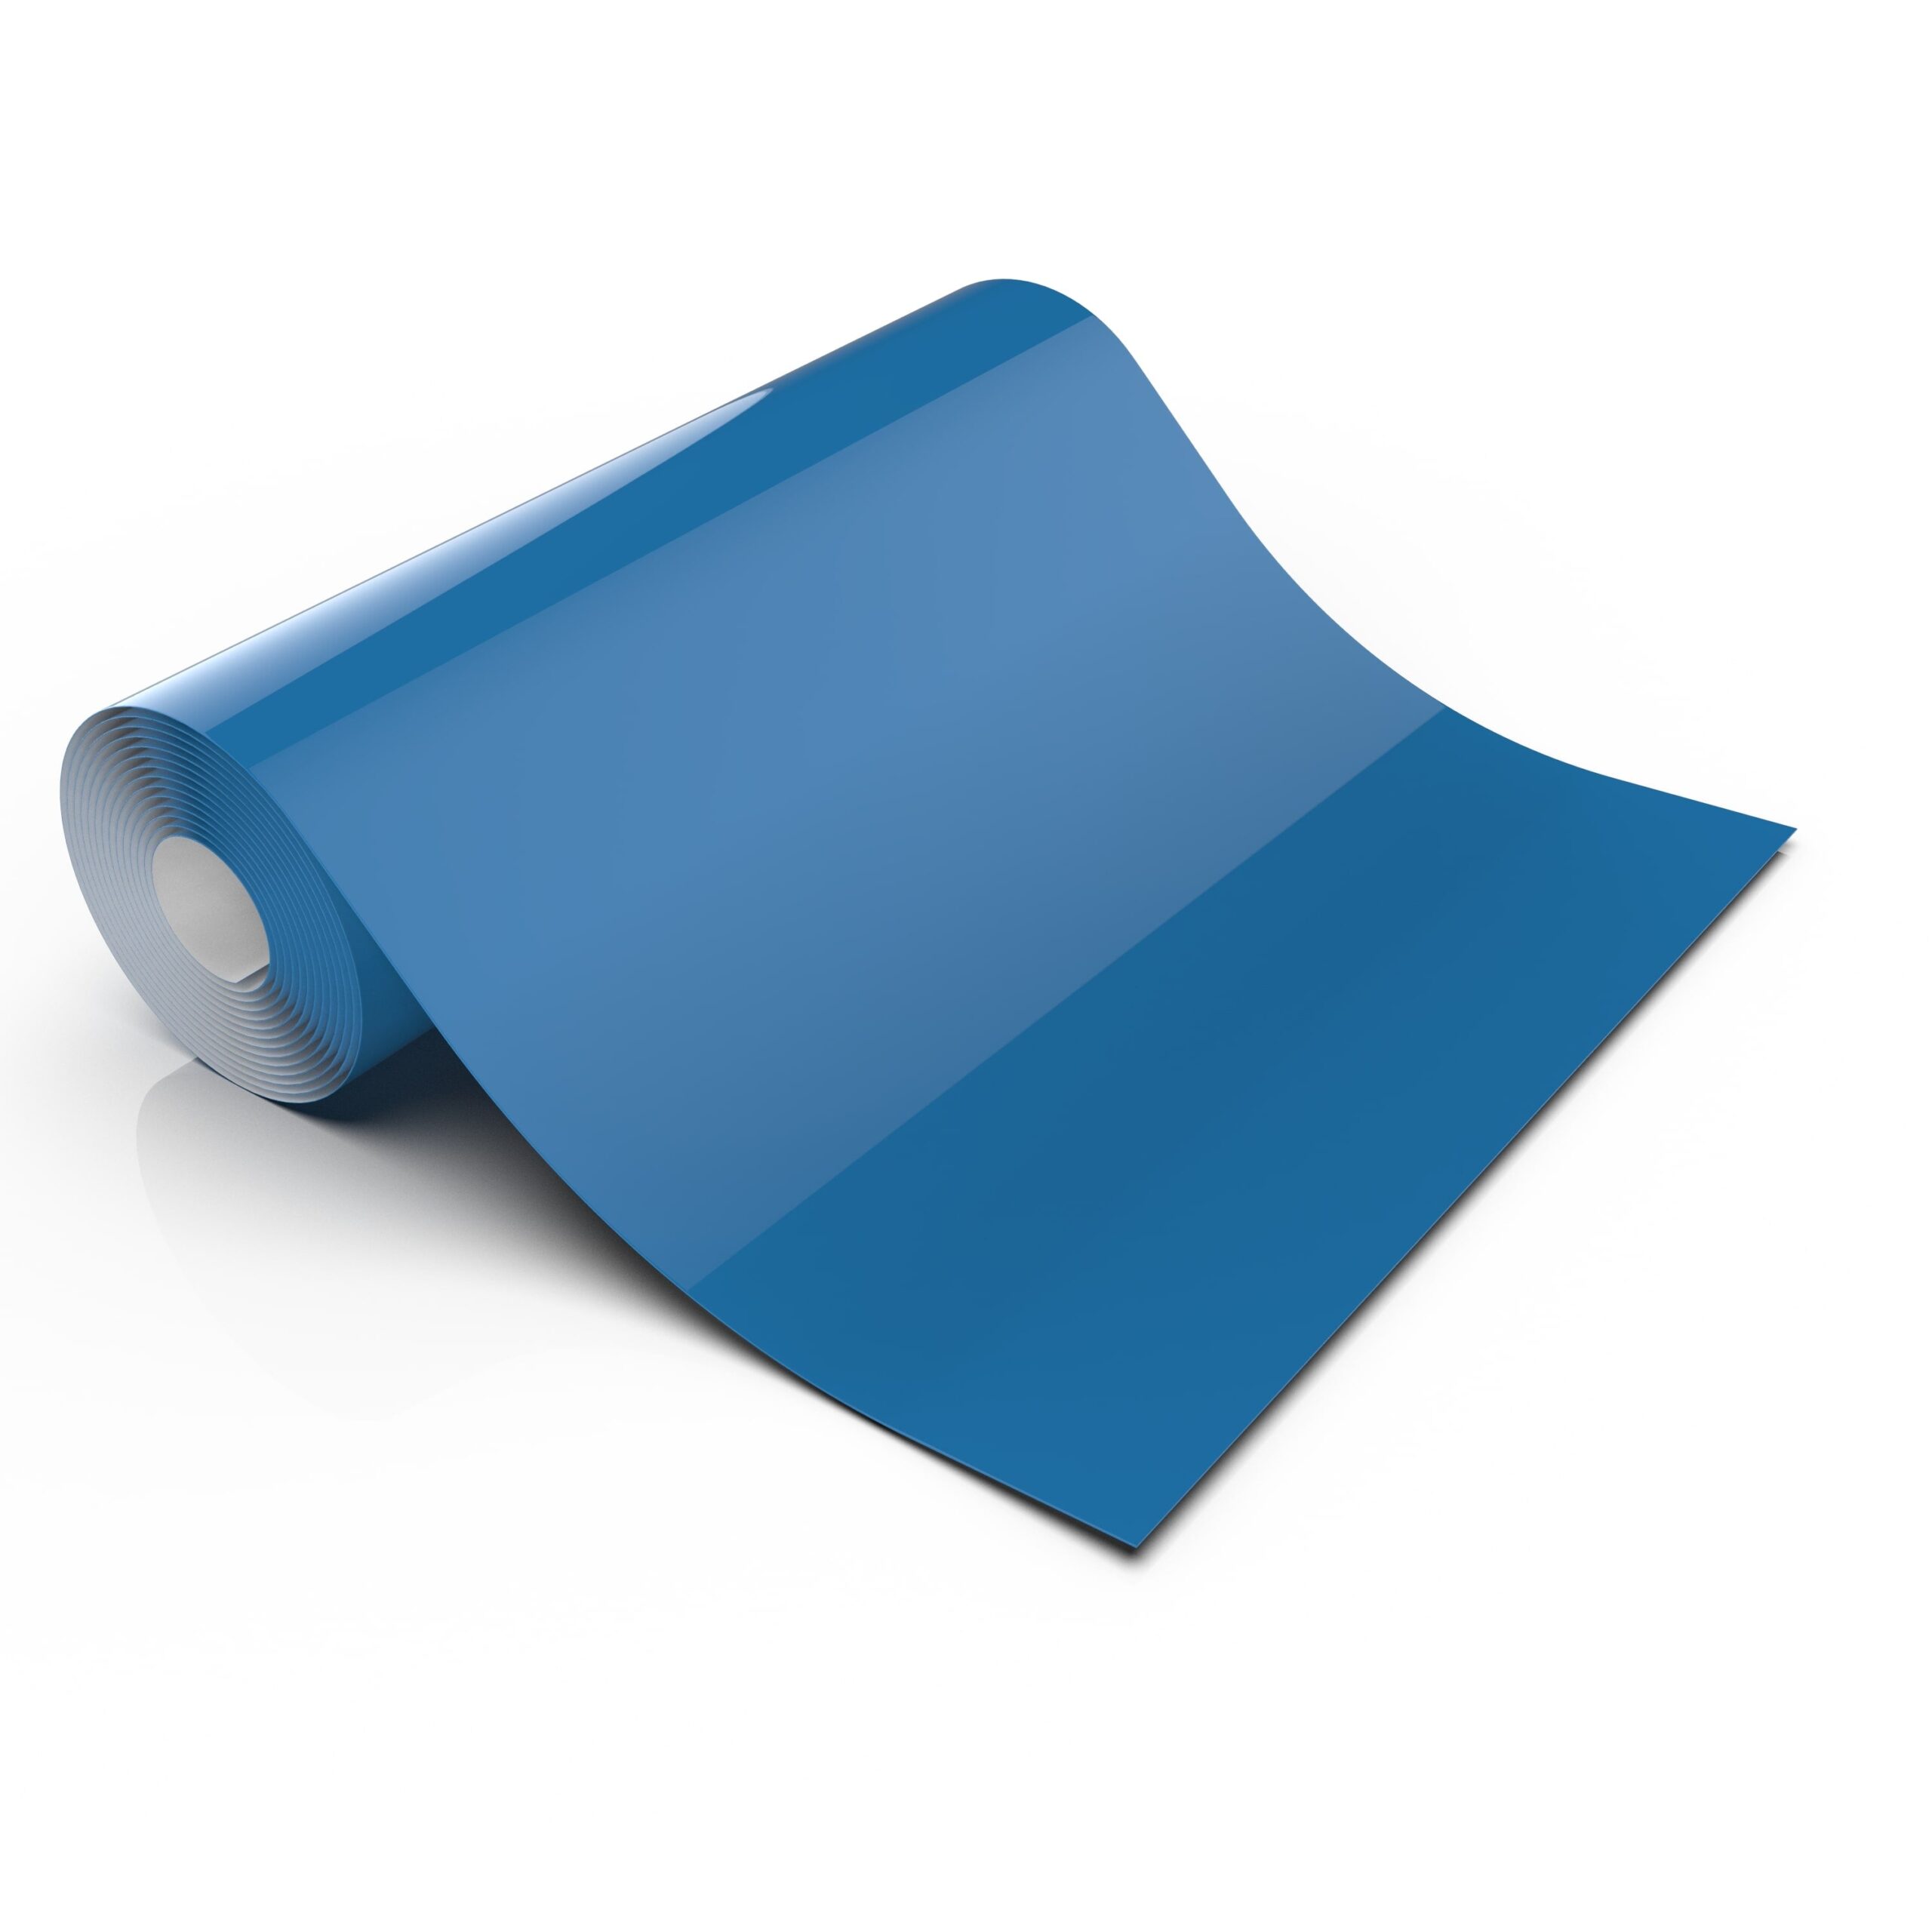
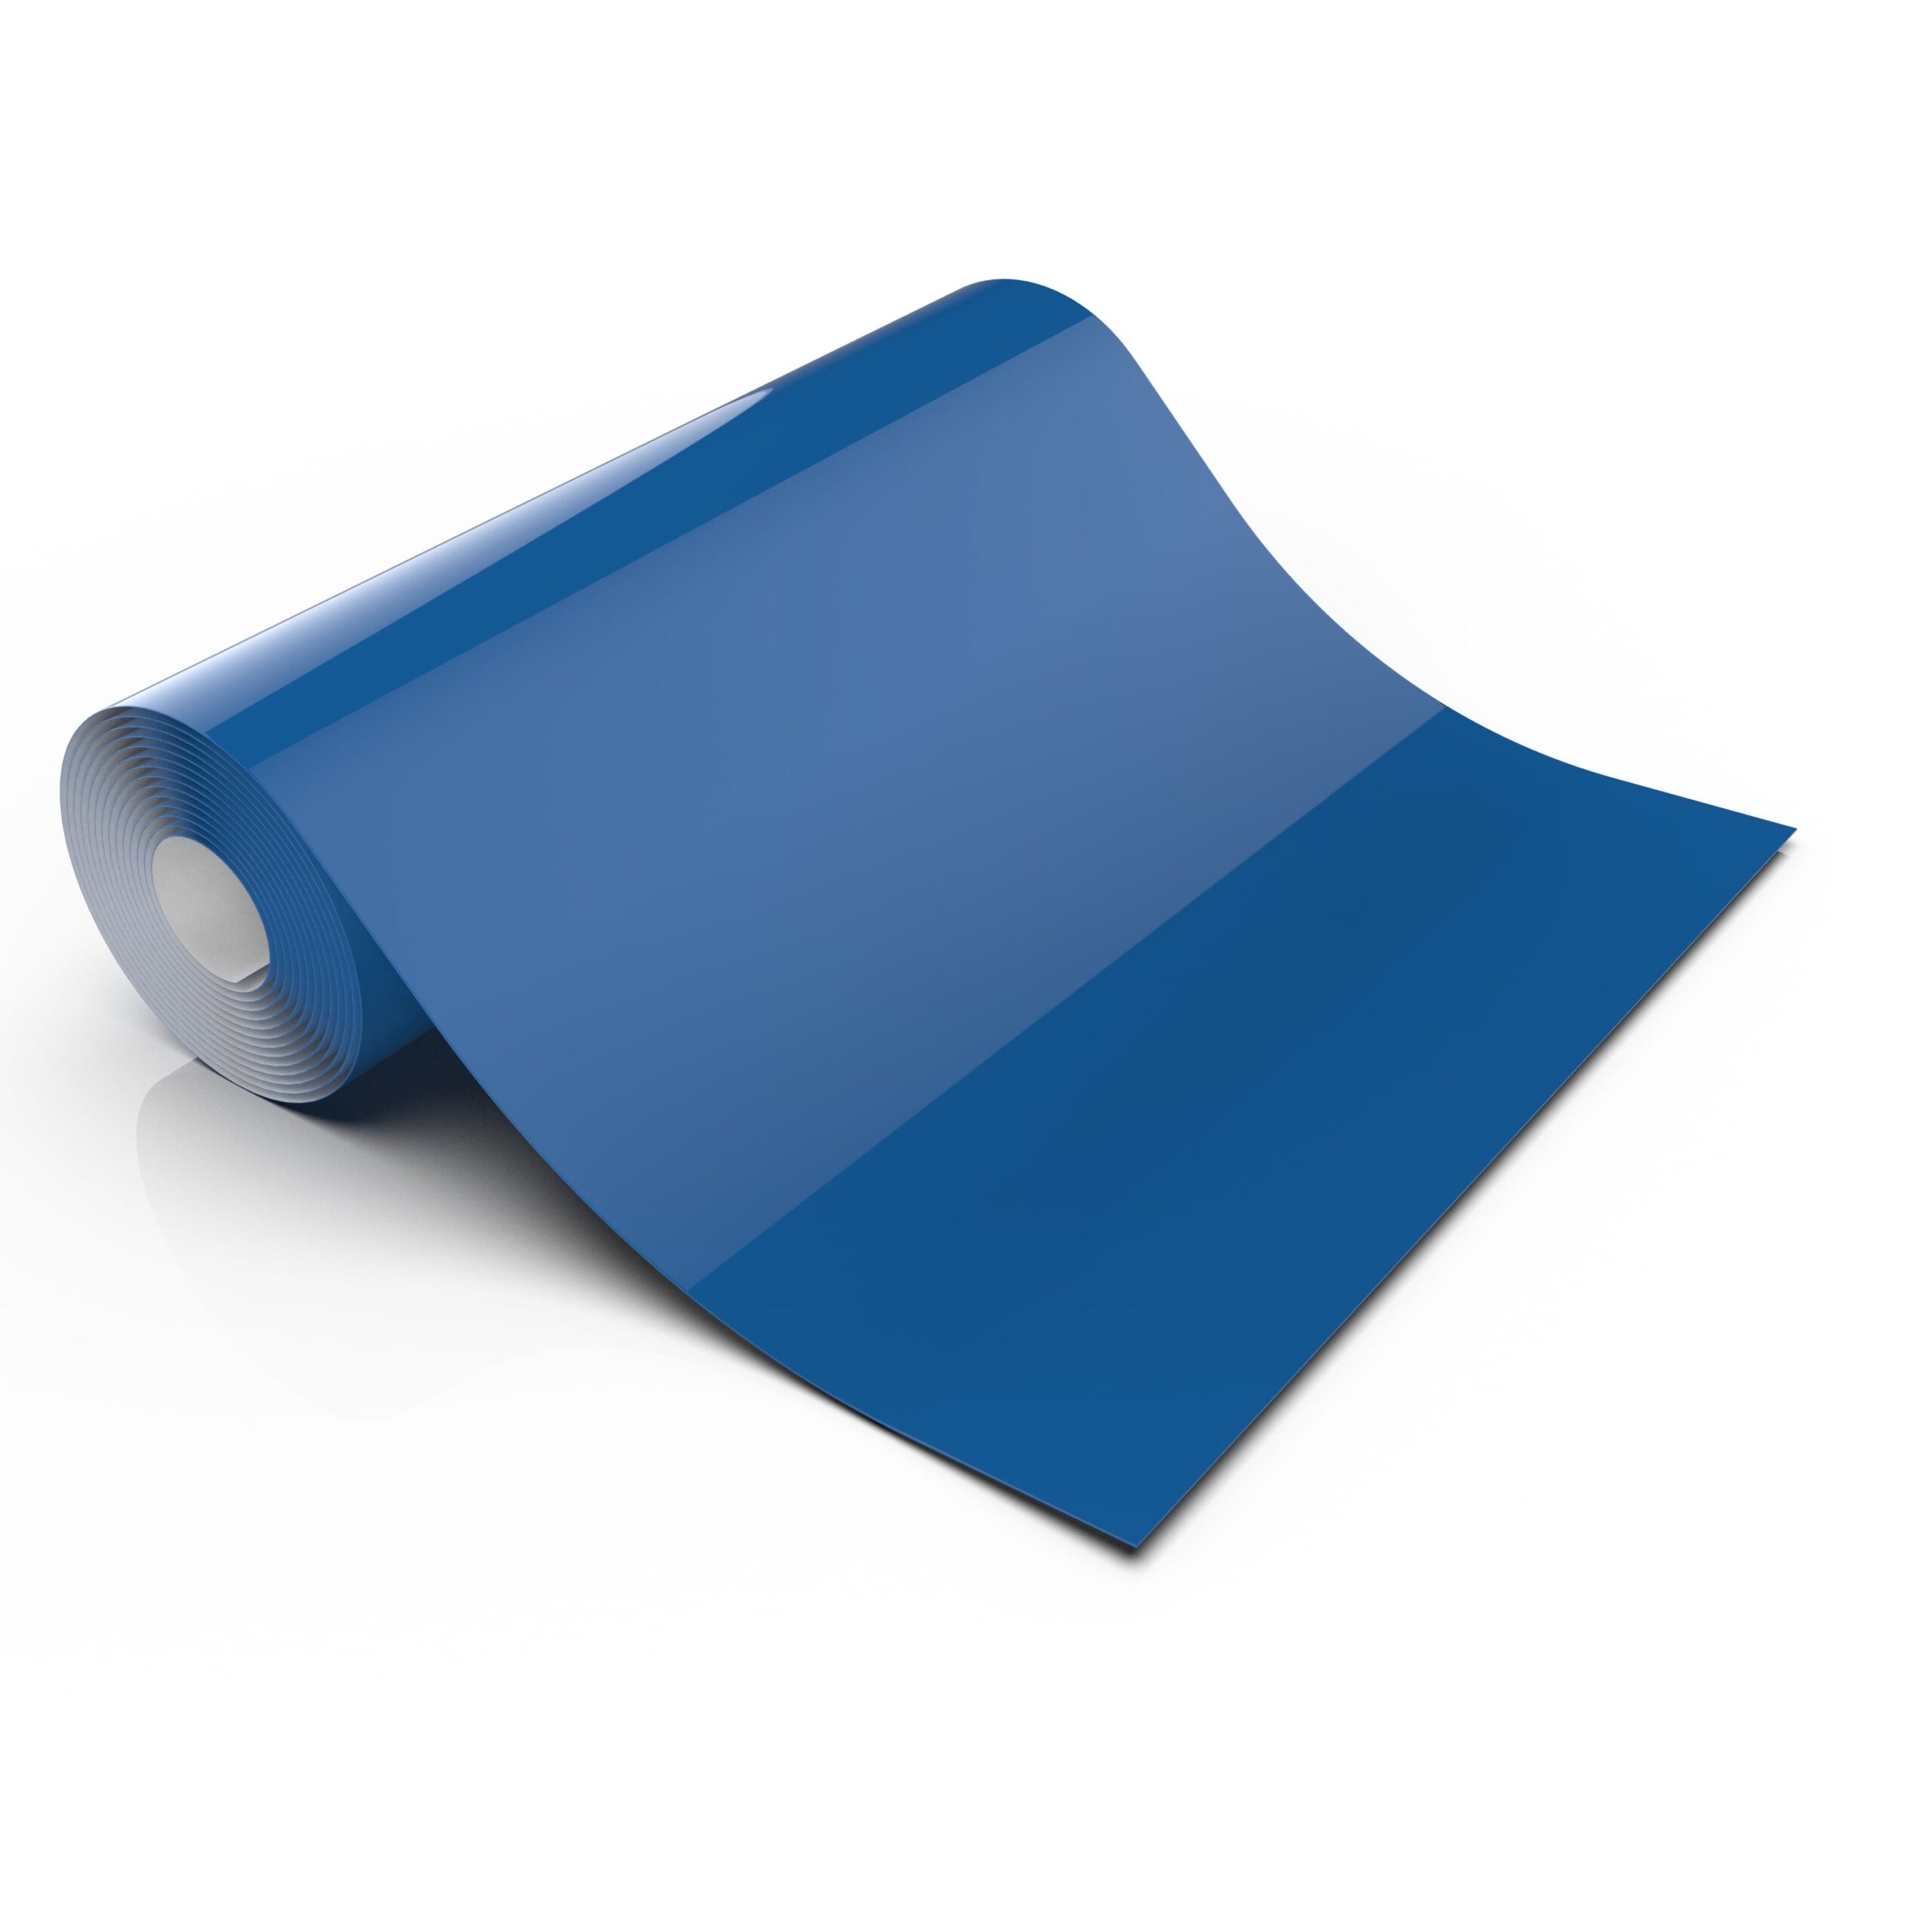


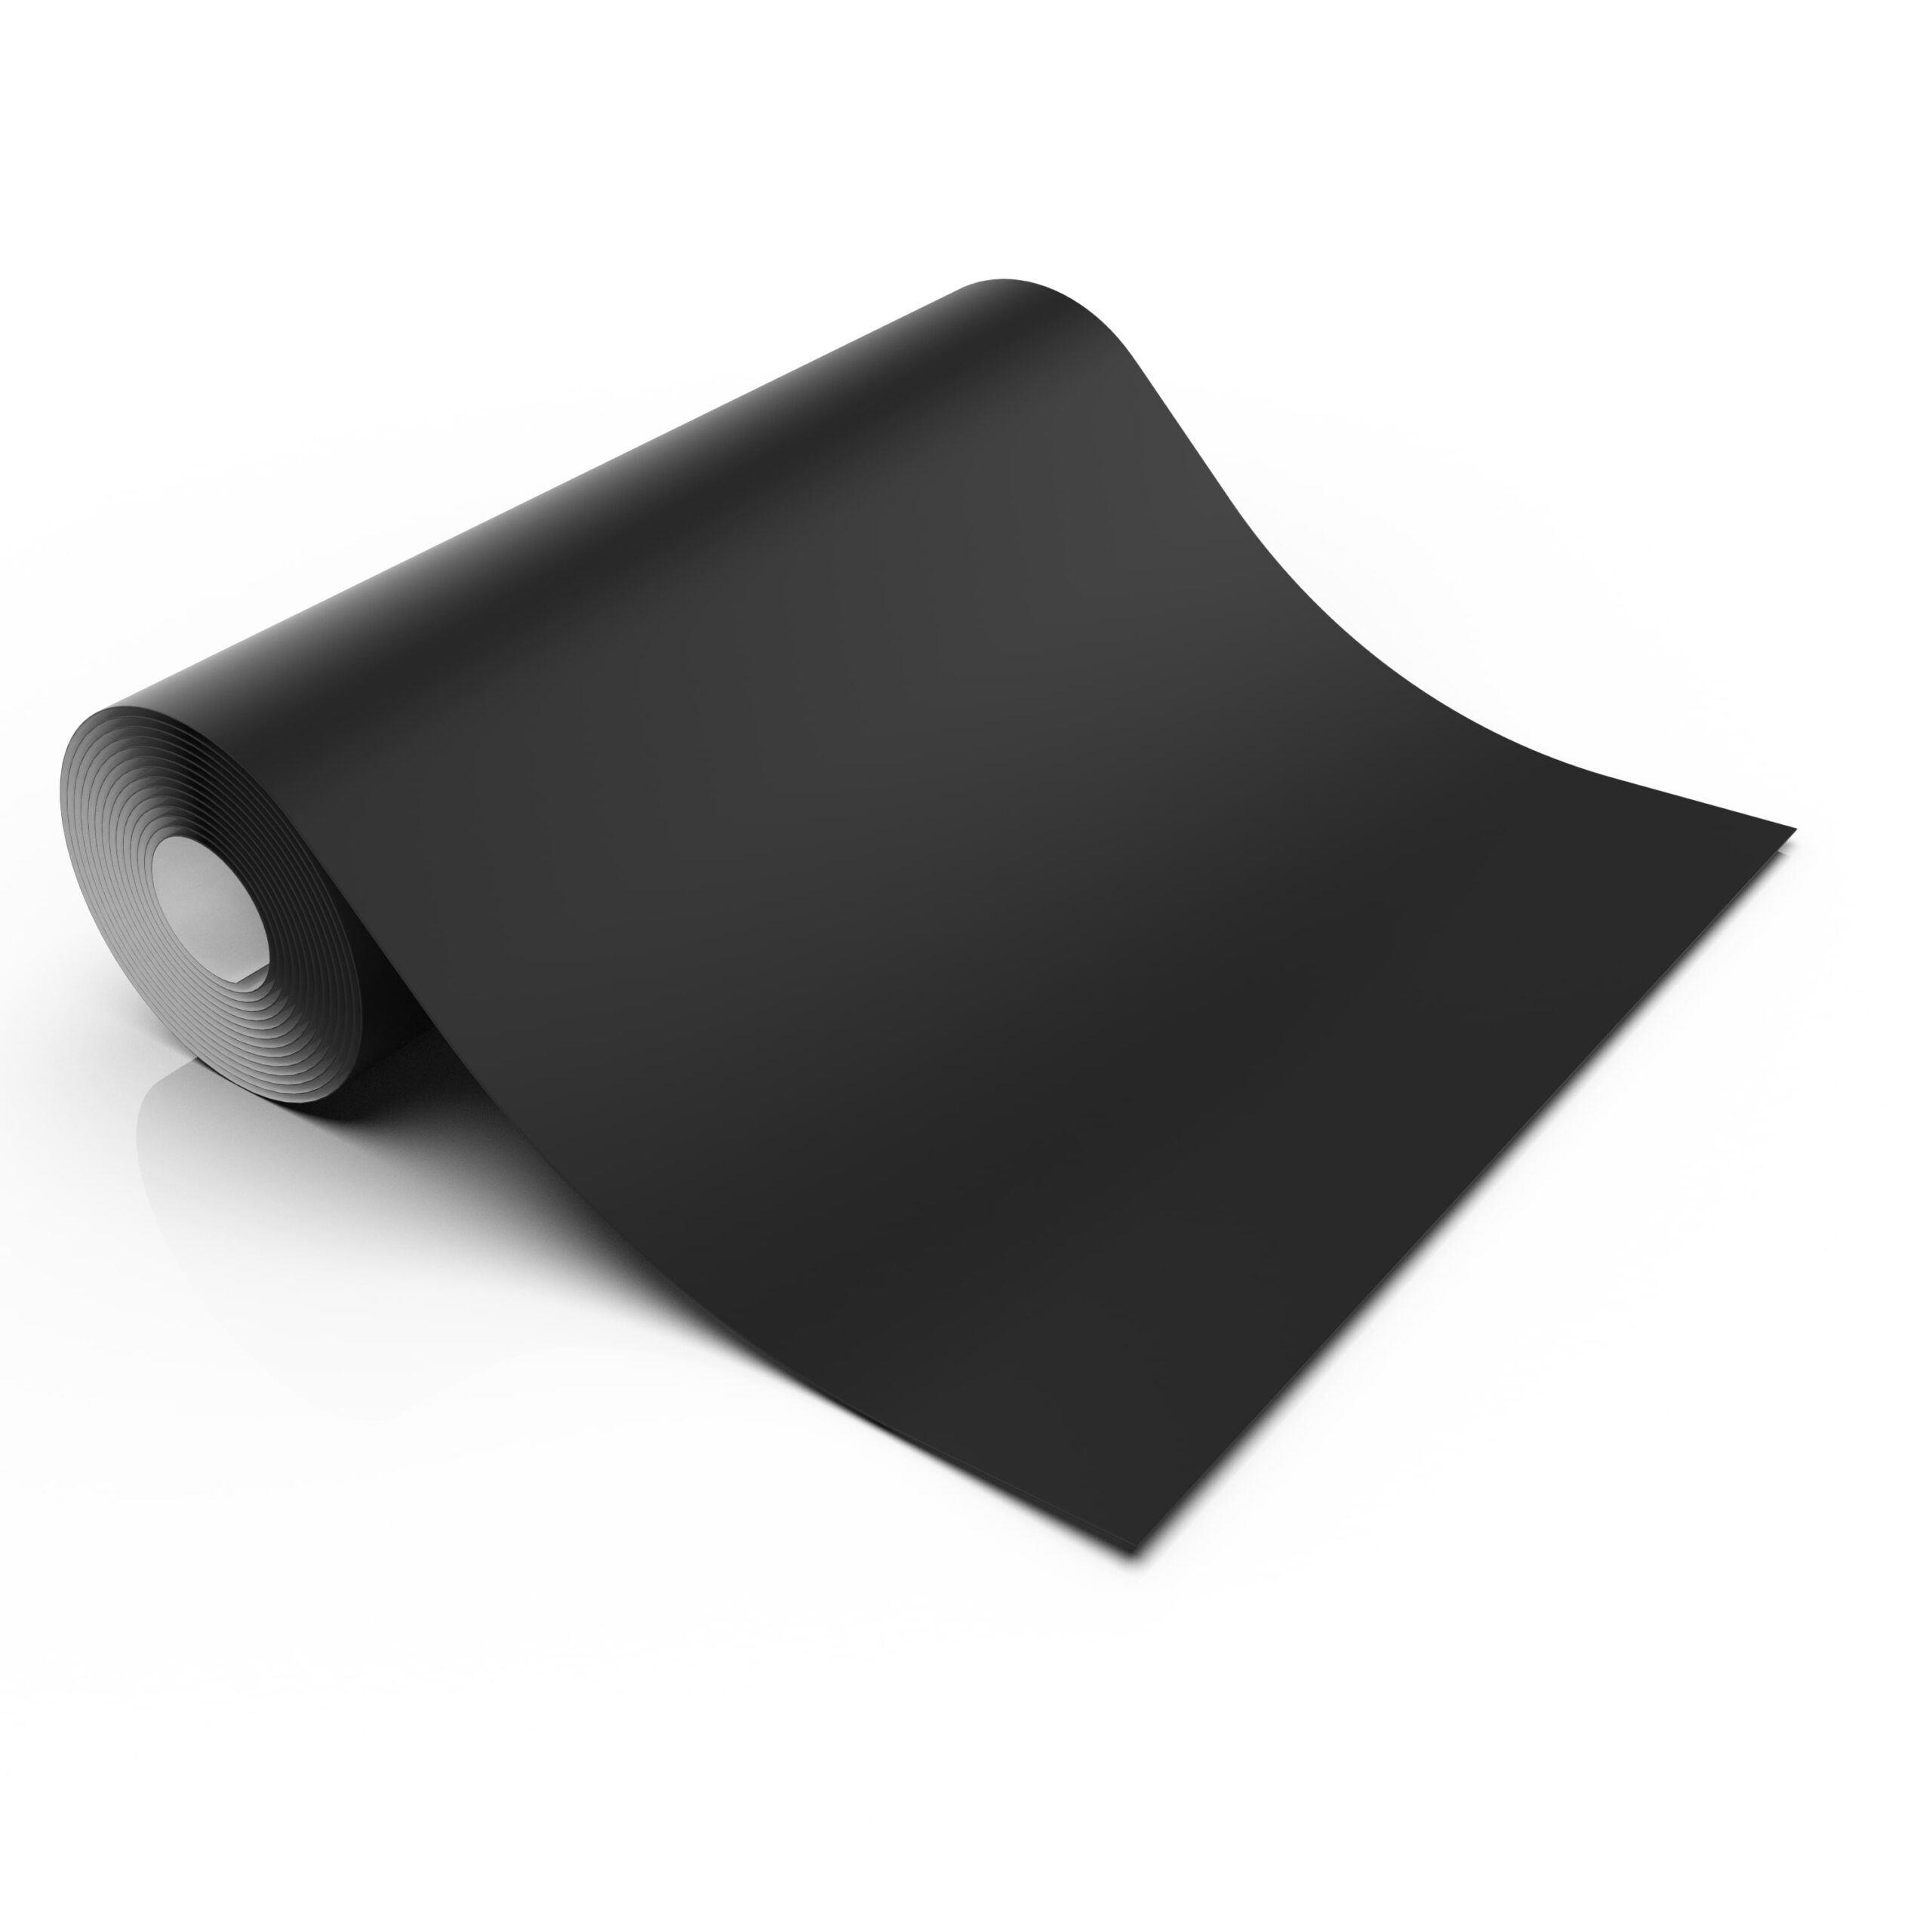
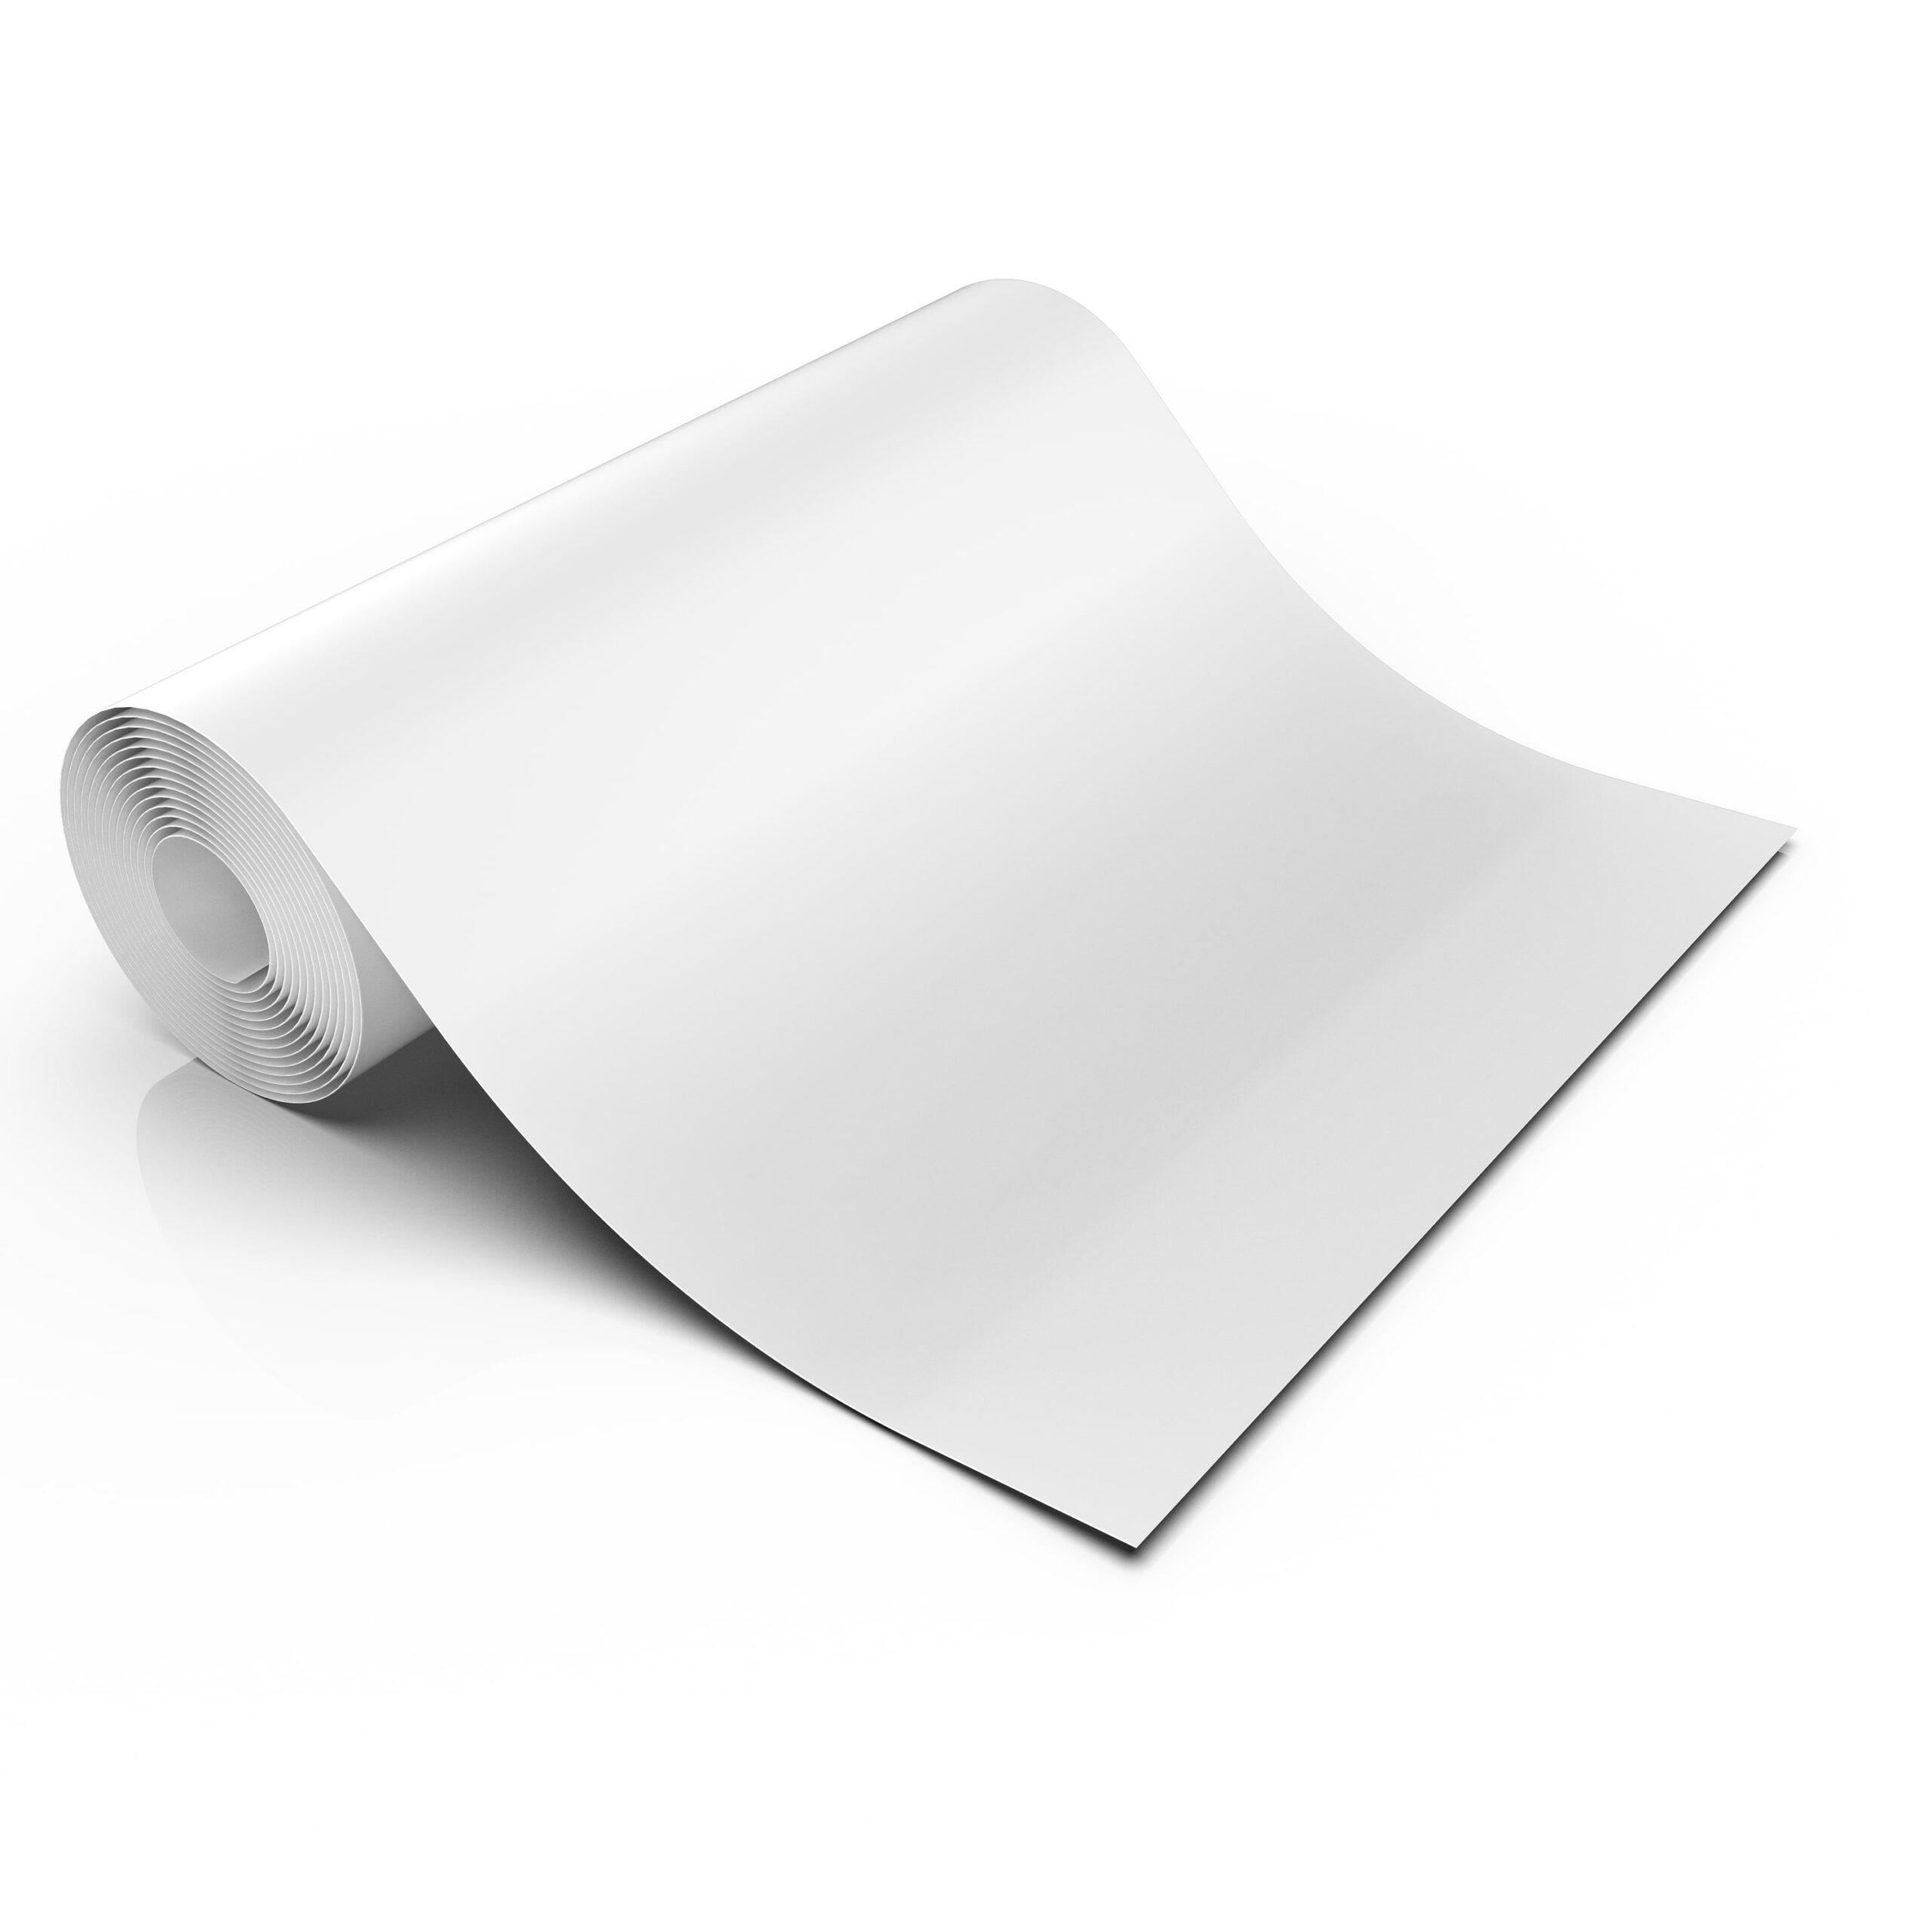
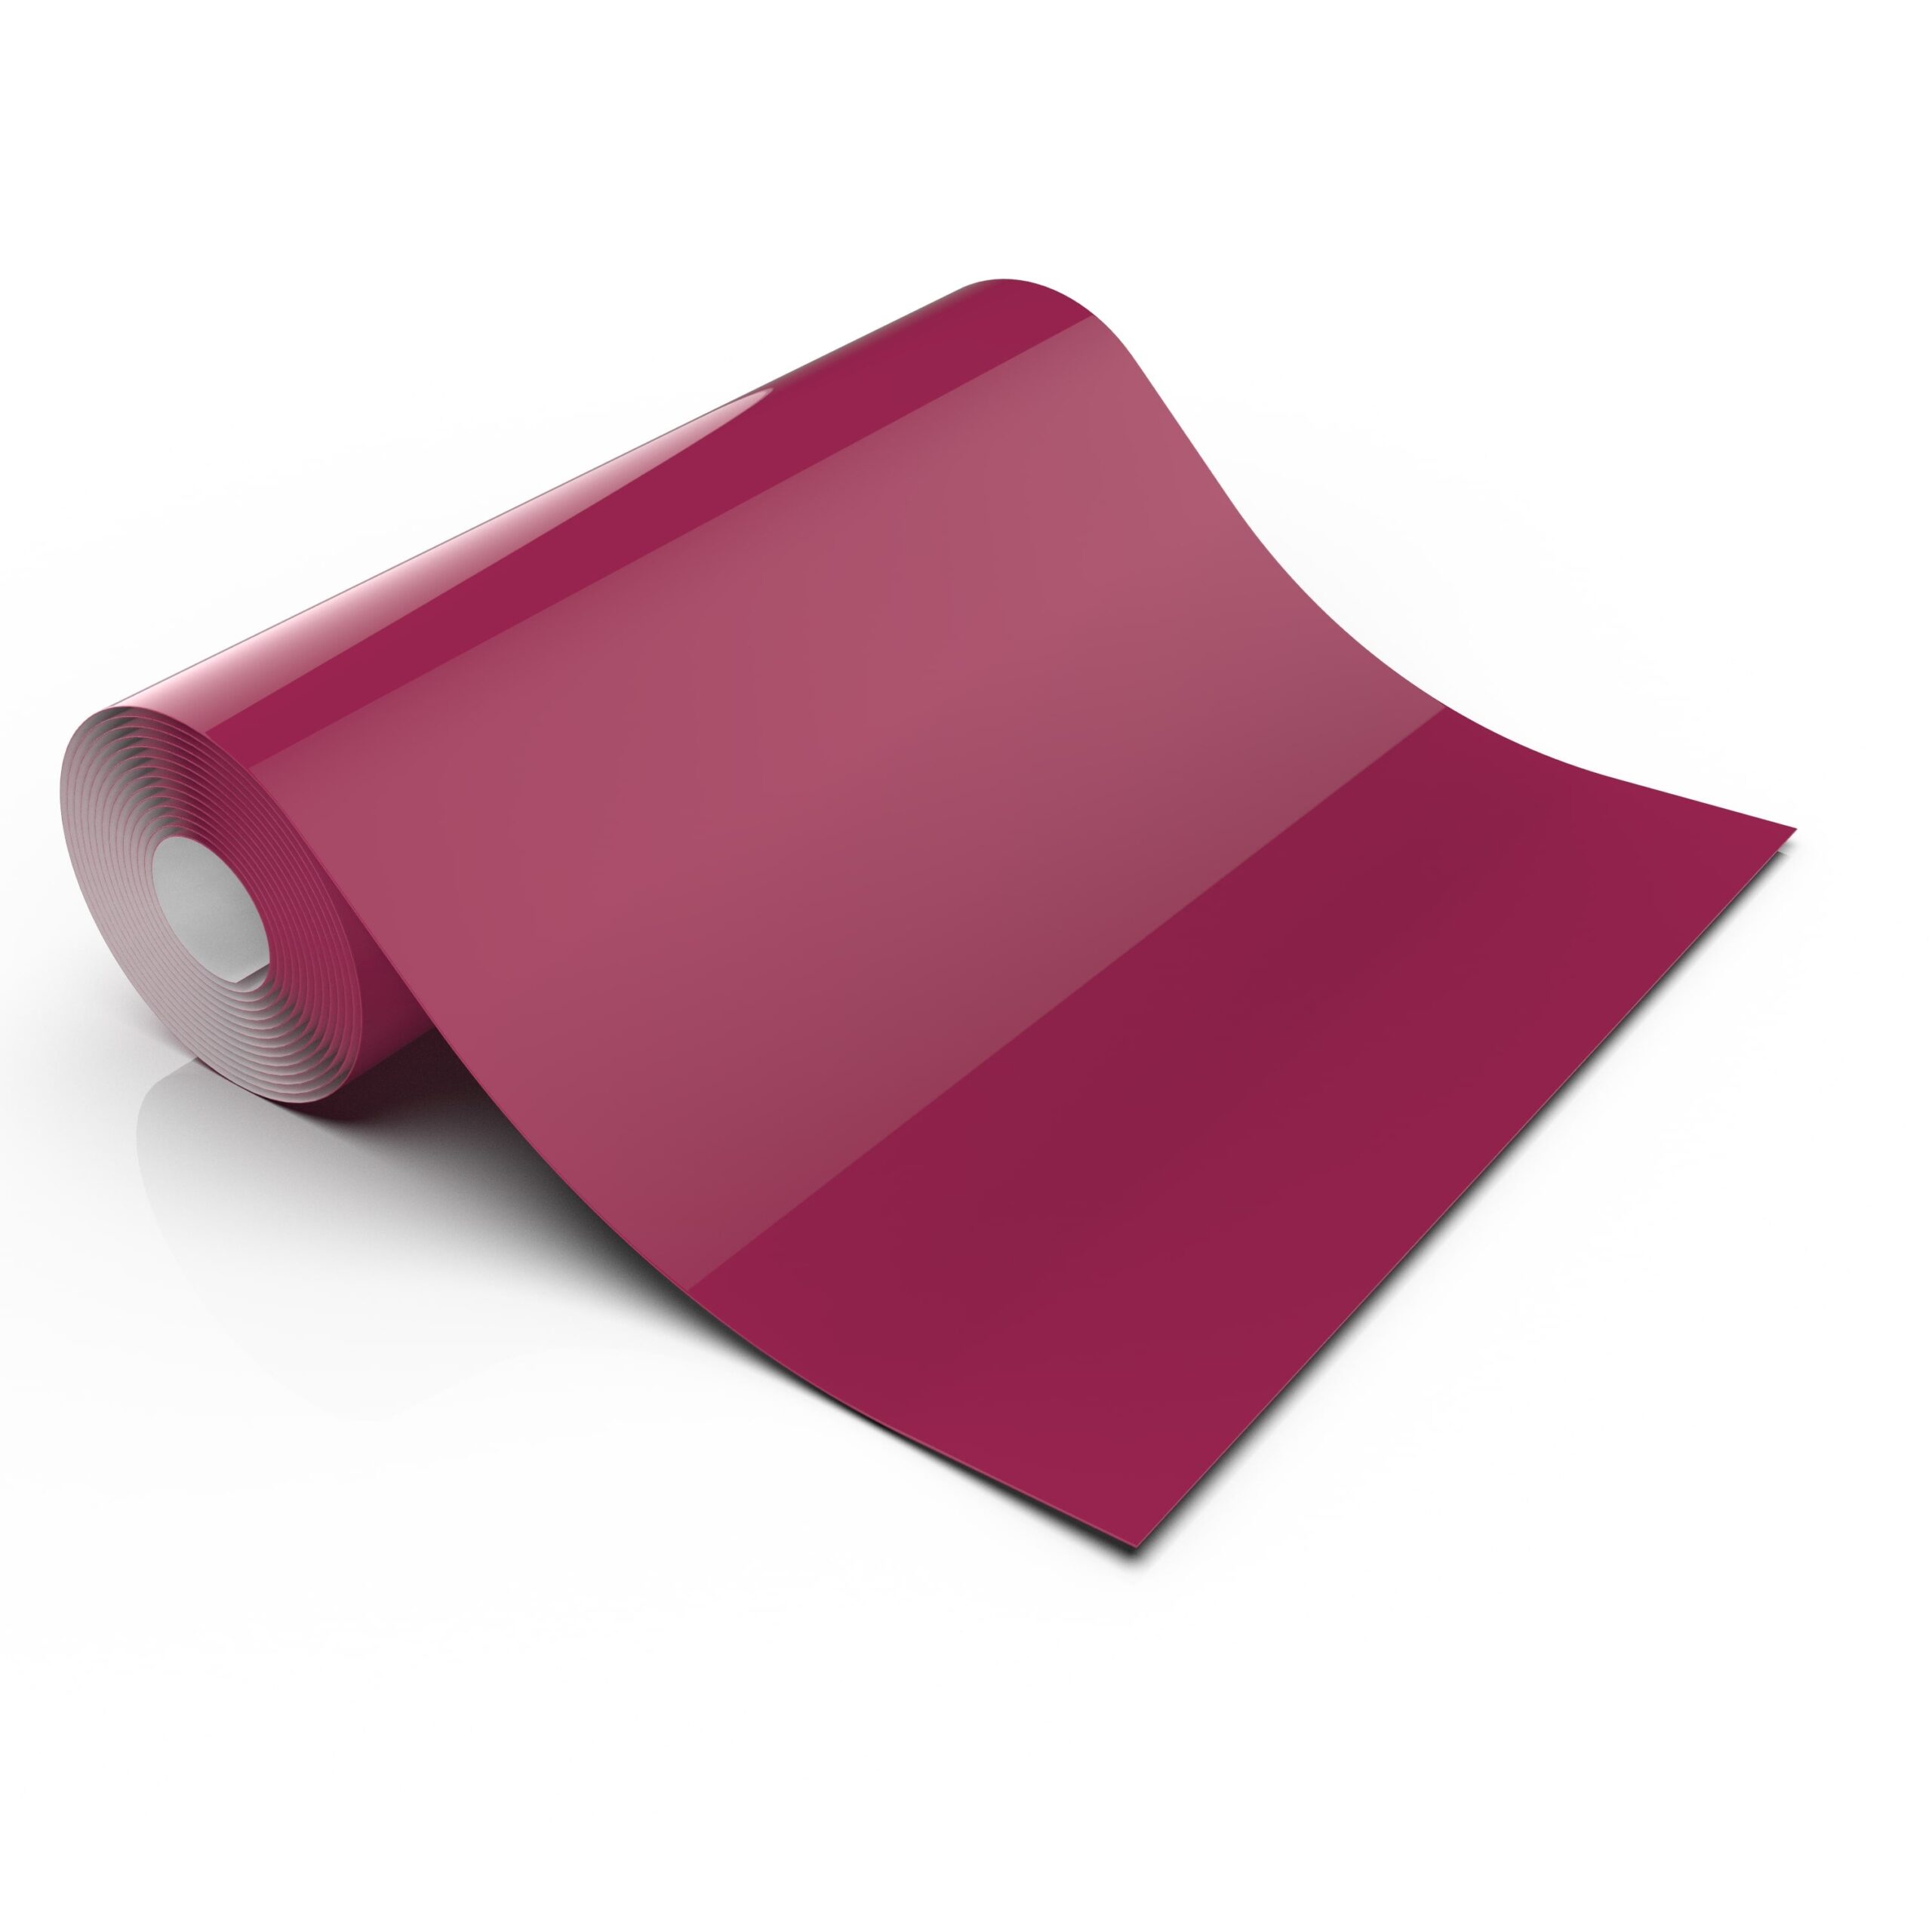
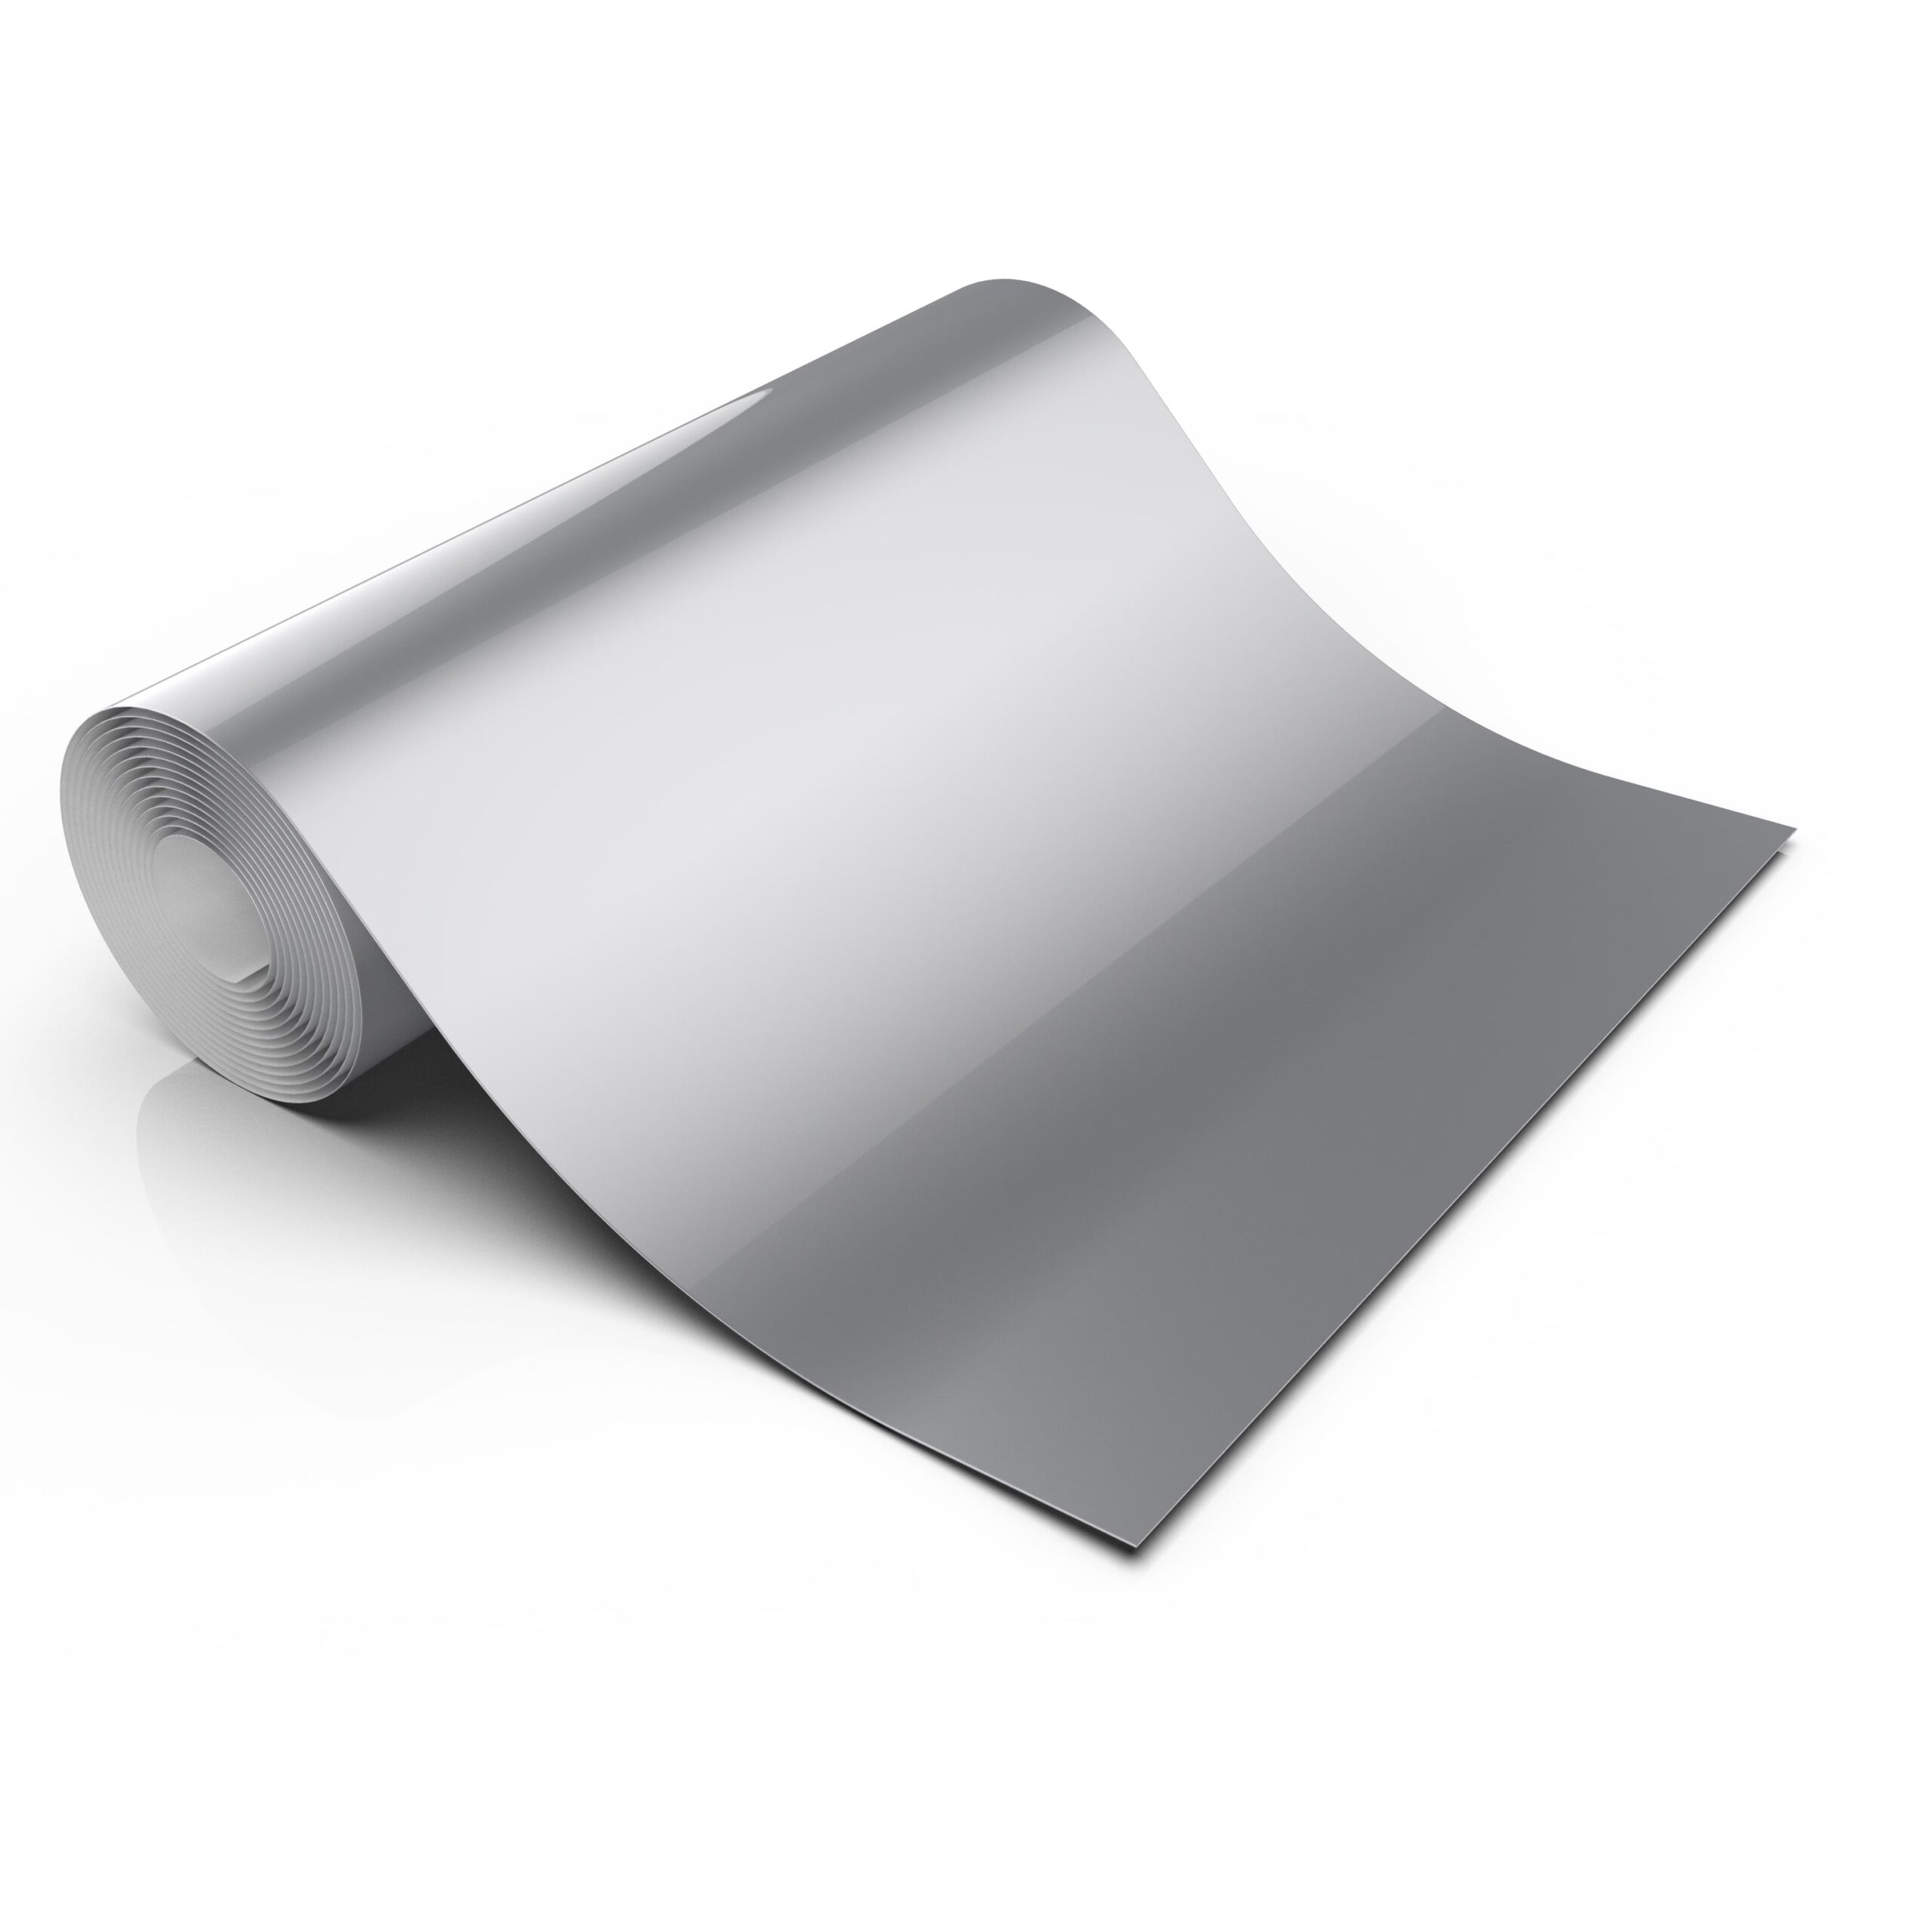


Oracal 651 is an intermediate glossy vinyl with a thickness of 2.5 mil. This creates a thinner more comfortable liner with better dimensional stability which means the vinyl design will last longer when cracking, shrinking, or peeling is an issue. Oracal is very easy to weed because it clings more tightly to the release vinyl. The adhesive is a pressure sensitive solvent which allows you to reposition your vinyl until it is absolutely perfect.
Features
- America’s leading high gloss intermediate vinyl
- 6 year outdoor durability
- Thermal printable
- Permanent solvent-based adhesive
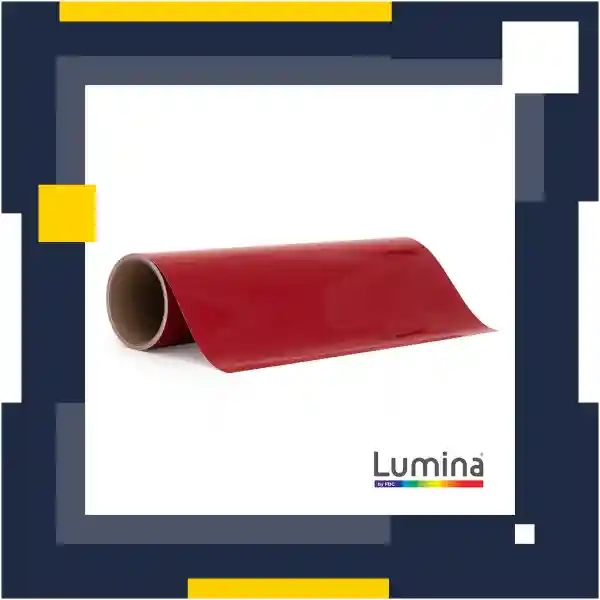
- Blue liner on white vinyl for easy weeding
- Not edge stripped
- Most opaque film available
Oracal Sign and Decorative Vinyl
Application Instructions
- Feed material into cutter so that the vinyl side is face up.
- Suggested blade is 45 degrees.
- Suggested force is 120gf.
- Design and cut your graphic. (Do NOT mirror image).
- Weed away excess material using tweezers or weeding tool.
- Cut a piece of application tape to the size of your design.
- Peel the backing off the application tape, and apply adhesive side of the tape to the vinyl.
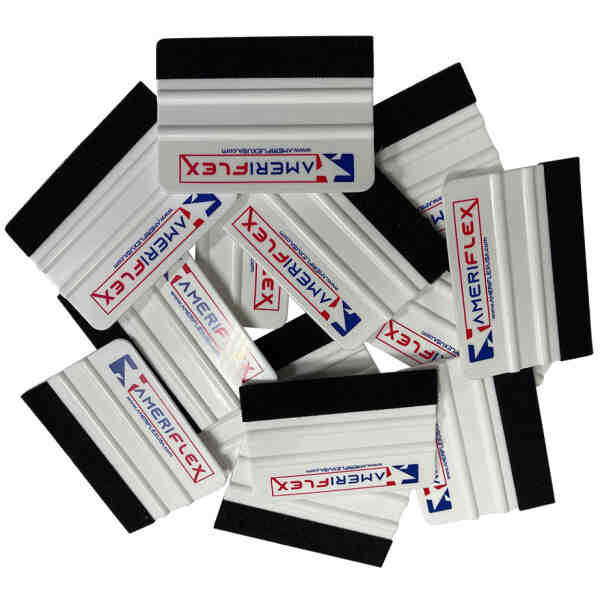
- Rub across the application tape and vinyl with a squeegee to remove any air bubbles.
Use one of the following installation techniques for application:
Basic Hinge Method – For Dry Application
The basic hinge method creates a hinge between the decal/graphic and the surface it is to be applied to. The hinge can be on the top, bottom, left or right side of the decal/graphic. By hinging the decal/graphic you will have control over the direction in which you are applying. The hinge method also helps keep the decal/graphic from moving during application.
After measuring for placement secure your decal/graphic in the top corners with small pieces of tape. The basic hinge method is formed by placing tape half on a straight edge of the decal/graphic and half on the application surface. You can now flip the decal/graphic towards the hinged side to allow for removal of the backing paper to expose the adhesive surface. Starting in the center of the hinged side make overlapping strokes in each direction using firm pressure to apply the decal/graphic to the application surface. Remove the application tape by pulling from one corner 180 degrees against itself so as not to lift the decal/graphic from the surface.
Center Hinge Method – For Dry Application
After measuring for placement secure your decal/graphic in the top corners with small pieces of tape. The basic center hinge method is formed by placing a line of tape down the center of the decal/graphic with several inches overlapping onto the application surface at both the top and bottom. Choosing one side of the decal/graphic you can now flip the decal/graphic towards the center hinge. Separate the backer from the decal/graphic and the application tape. Cut away the backing paper to expose the adhesive surface. Starting in the center of the hinge make overlapping strokes in each direction using firm pressure to apply the decal/graphic to the application surface. Remove the tape used for the center hinge and follow the previously described procedure to apply the other side of the decal/graphic. Remove the application tape by pulling from one corner 180 degrees against itself so as not to lift the decal/graphic from the surface.
Please Note: This product is not intended for use with garments.